Today I took up the underlay. I re-read Gary Spencer Salt's blog entry on laying track and underlay, as well as the AMRM article mentioned in the last blog post and made my mind up. Here's the last look at the layout before it went back to timber:

To remove the track I had already laid, I brushed water over it and left it for a few minutes until it had soaked into the glue. I'm not sure how much this loosened the PVA glue, but it had the advantage of higlighting where the glue was so that I didn't dig' too much in the wrong area with the paint scraper.

Sliding the paint scraper under the track lifted it fairly easily. This is the first time I have both laid track with PVA glue and pulled it up and I have to say I am a convert. No risk of driving the track pins in too far and breaking the sleepers, and no risk of damaging the track trying to get them out again. Once removed, I dried the water off each piece with a cotton rag and set them aside. If you're worried about the effects of PVA on the plastic sleepers, you needn't be. Here's how they look once pulled up:

I mopped up any remaining water and set to work tearing up the rubber from the underlay. It took less than five minutes to get the whole lot off the layout.


Then I brushed this stuff on the now bare baseboards:
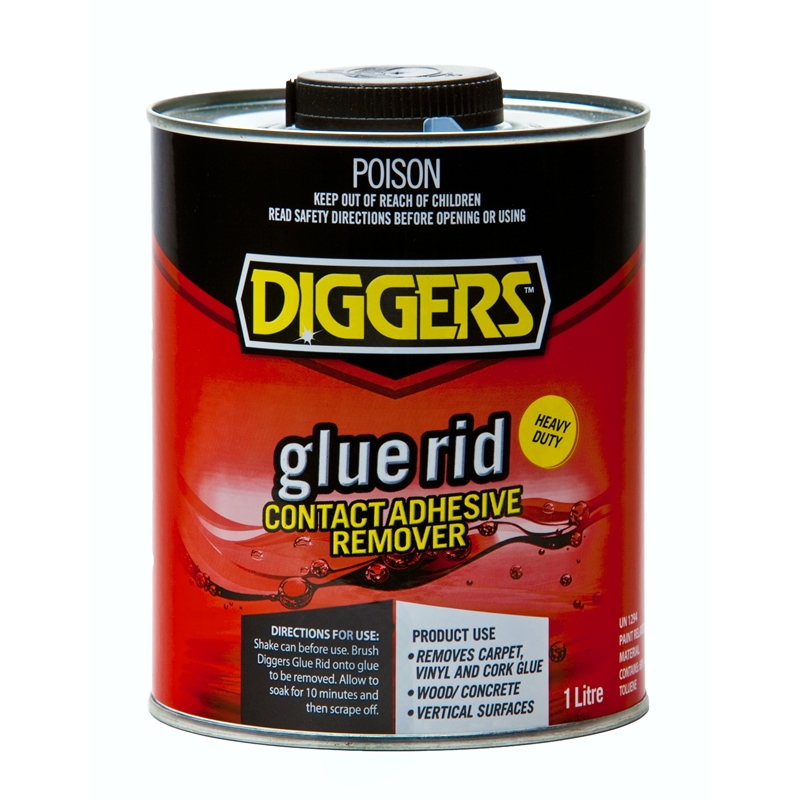
If you decide to do this, work in a well-ventilated area. I also recommend a mask - it's fairly strong. Once applied, leave it for about ten minutes and then remove with a paint scraper. It comes off in a goo.

I found that the glue came off with the glue-rid a lot easier on the surfaces I had painted. On the other surfaces I applied a second coat and had another go, before finally wiping it with mineral turps and then sanding it.
All up, the whole process took around two hours, with the slowest part being the scraping.
Going to pack up my gear now and head back south to start work in the morning. Aside from a few wagons I'm weathering I've also picked up an Austrains S wagon underframe to fit to a Camco CW (they're both 10ft underframes, so hopefully it'll be a straightforward mod), and I'm finally going to finish the NRY I started years ago.
The next work on the layout won't be until next weekend now, but I'm please that progress is being made.
'Til next time, happy modelling!
No comments:
Post a Comment